Tutorial: Edge Beveler Sharpening
Edge Beveler sharpening is one of the most common questions I field. Basically edge bevelers cut the sharp corners off the edges of leather pieces. They need to be sharp to cut. While sharpening isn’t rocket science, there are several considerations because of the different styles and profiles of edge bevelers. Sharpening edge bevelers has been an evolving process for me. This instructional is how I am doing them now, but sure is subject change in the future as I find something that works better.
Just like a good cutting knife, the goal is a smoothly polished fine cutting edge. This is accomplished by using progressively finer grits until sharp and then stropped and polished to bring up the final smooth edge. Some sort of magnification helps me see the progression of the edge.
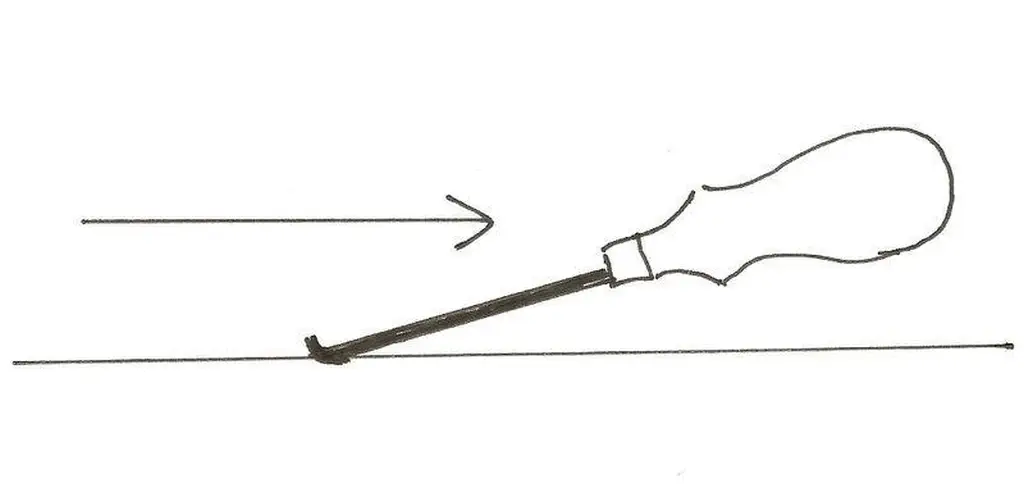
Another thing that I think helps me is maintaining a good even stroke with the abrasive. I secure either the edger or the abrasive. That gives me more control than holding the tool in one hand and running the abrasive with the other. A small bench vise works well. I can pad the jaws with scrap leather and lightly grip the tool or hold the abrasive and work the tool. On really rough edges or some that are too steep for my liking I work into the edge to thin things down and get to the basic edge profile I like.
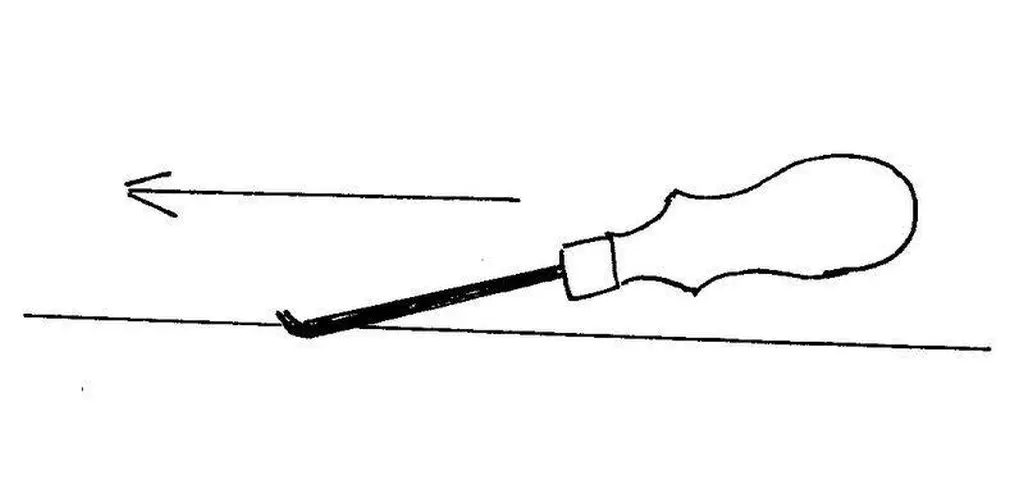
After that I work the abrasive away from the edge to draw a thin burr, foil edge, or whatever you choose to call it.
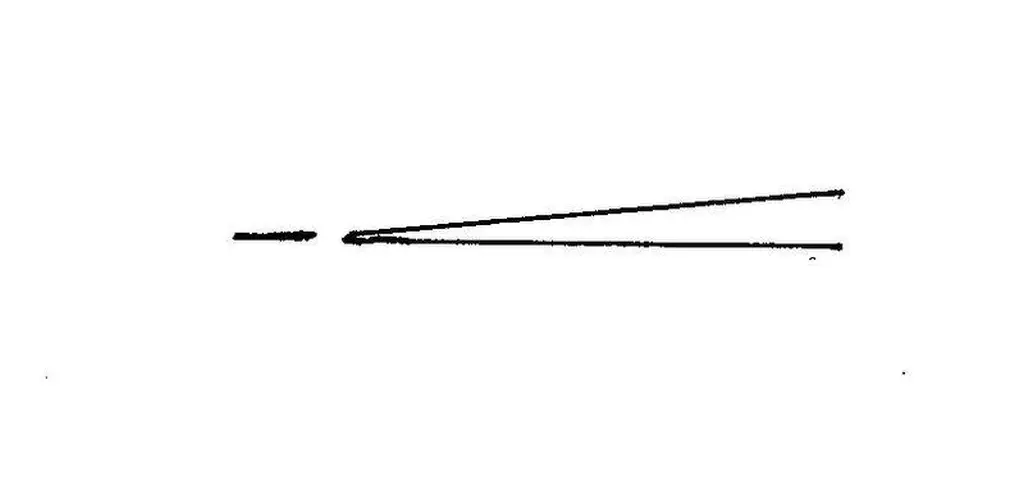
Abrasives – Edge bevelers can be sharpened and maintained with very fine stones or fine wet-dry sand paper. More damage is done by starting with a heavier grit than necessary and then trying to work those grit marks out. Most edgers only need a touch up first and then a good stropping. If you start with too coarse of a grit you may end with a more ragged edge than you started with. By the time you have worked that out with progressively finer grits you have wasted time and metal. 600 something to 800 wet-dry is about where I start on most as-found edgers. I work up a few grits until I get to a nice even pretty smooth edge. Once I get to a strop, I use green compound. It will remove some metal maybe, but if I get the best edges currently using it.
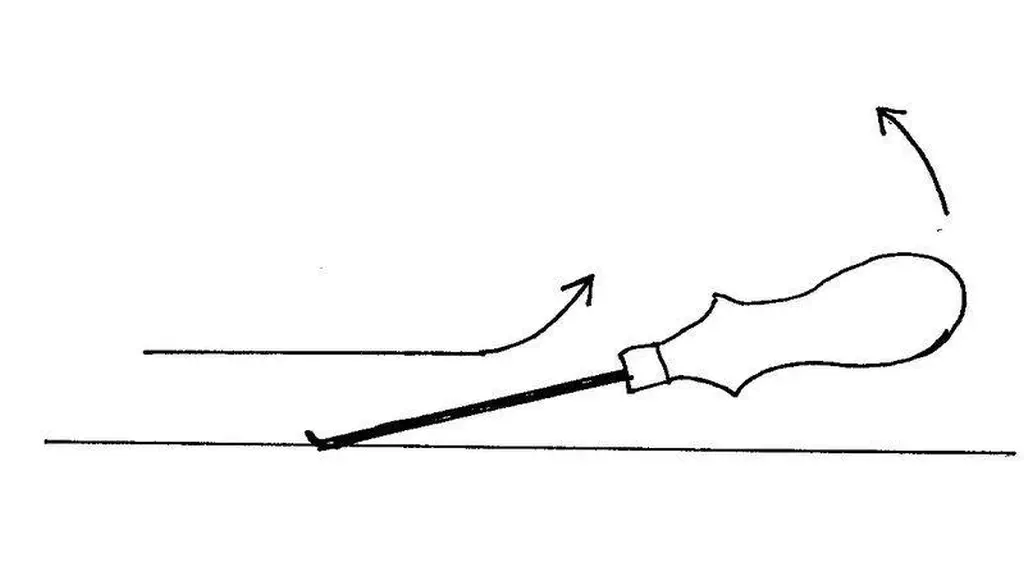
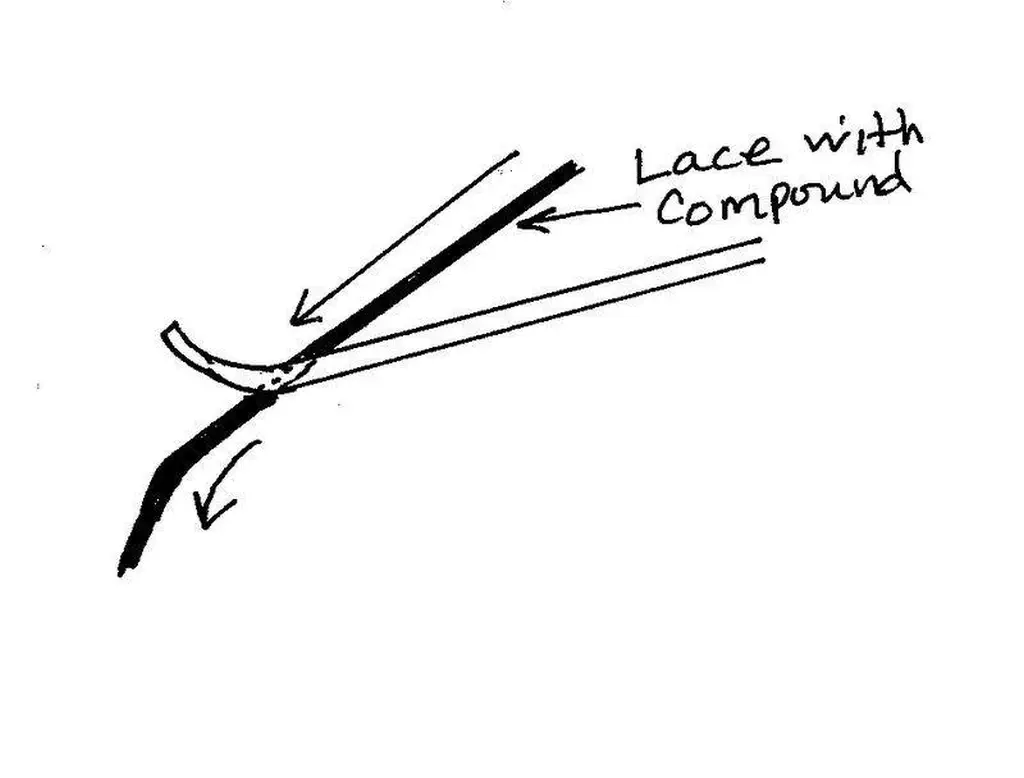
On most edgers I work off the bottom. It is more accessible and easier for me to maintain a consistent angle. Once I have a pretty fine edge and starting to draw a thin burr evenly across the width, I start stropping top and bottom to work that bur off. On the bottom I rotate up slightly at the end of the stoke to make a slight convex edge. It is more durable on thin stock edgers and holds better. If the edger is good it doesn't take much of a convex to hold it.
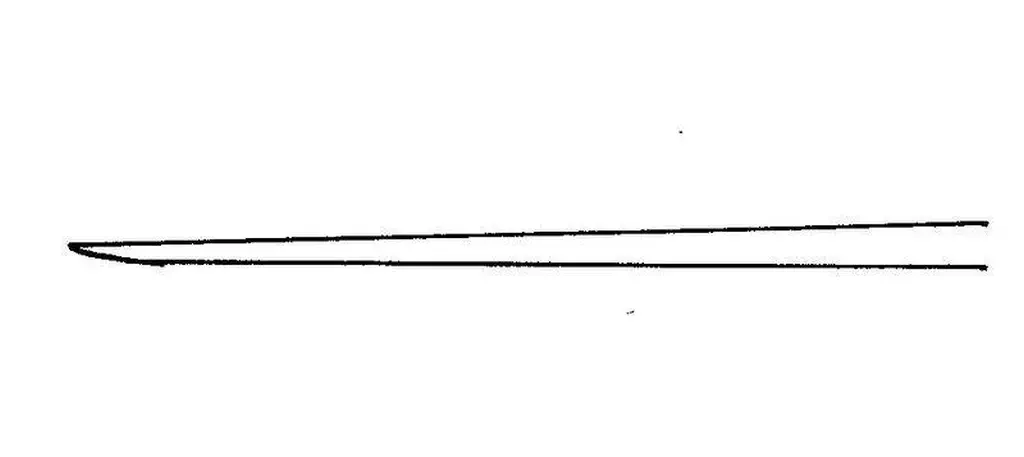
Some edgers have the top in a slot and compound on stiff cardboard (tablet back, cereal box, etc.) works well for me.
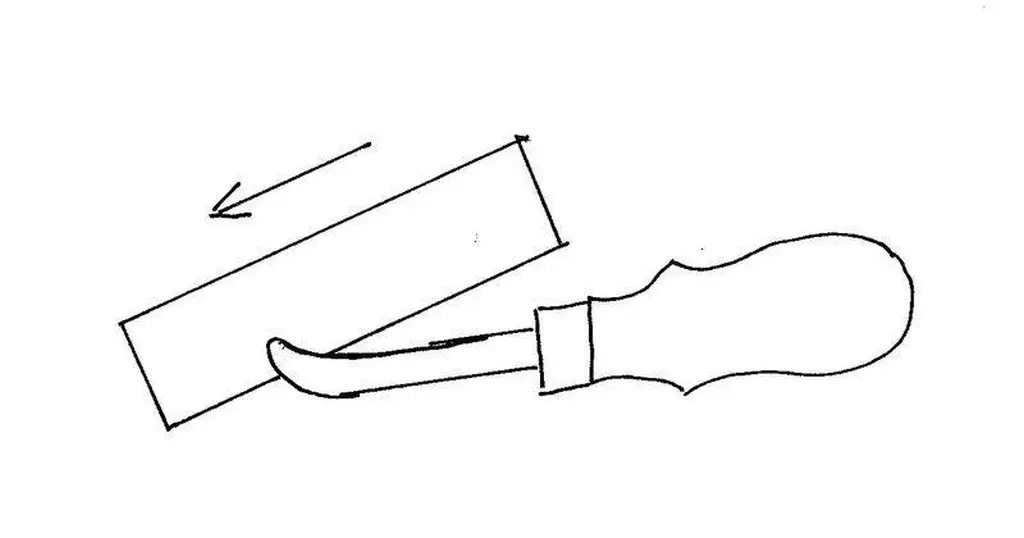
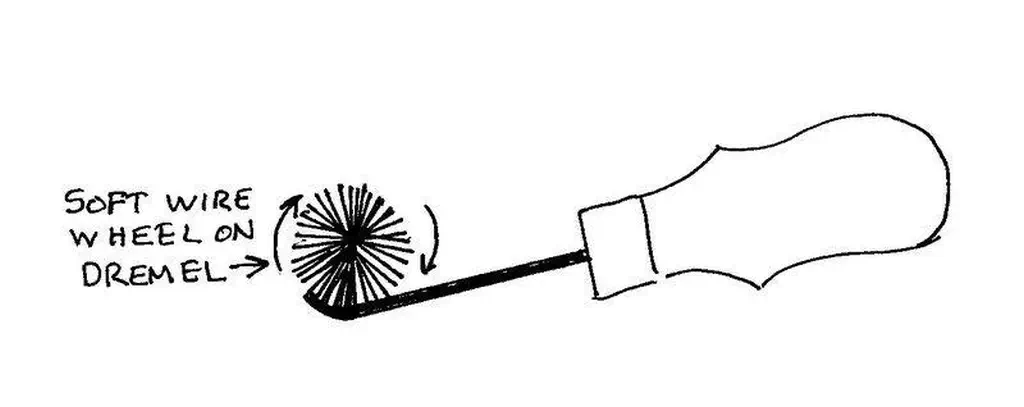
If I have nooks and crannies like a round bottom Gomph or vizzard edger, I use an angled piece of hard leather to get into the corner OR I use a soft wire wheel and lightly remove the burr with that rotating away from the blade edge.
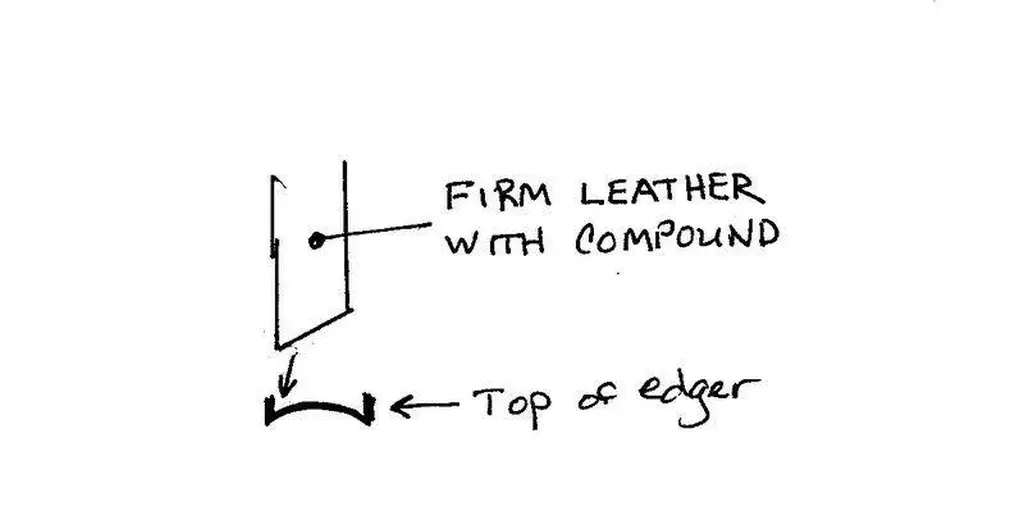
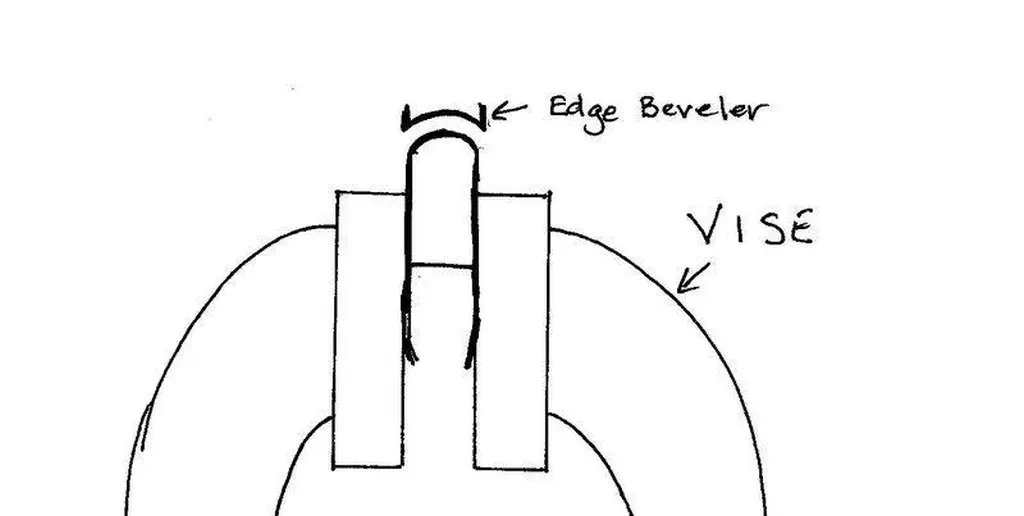
You can draw or lightly push to work up an edge depending on the needs. Once you are close on forward strokes, then draw the blade to get that finer edge. Once you have the edge, it is time to strop. An edged piece of firm leather rubbed with compound and held in the vise is good, it will have the same profile. Just draw back and strop the bottom, then use whatever works for the top.
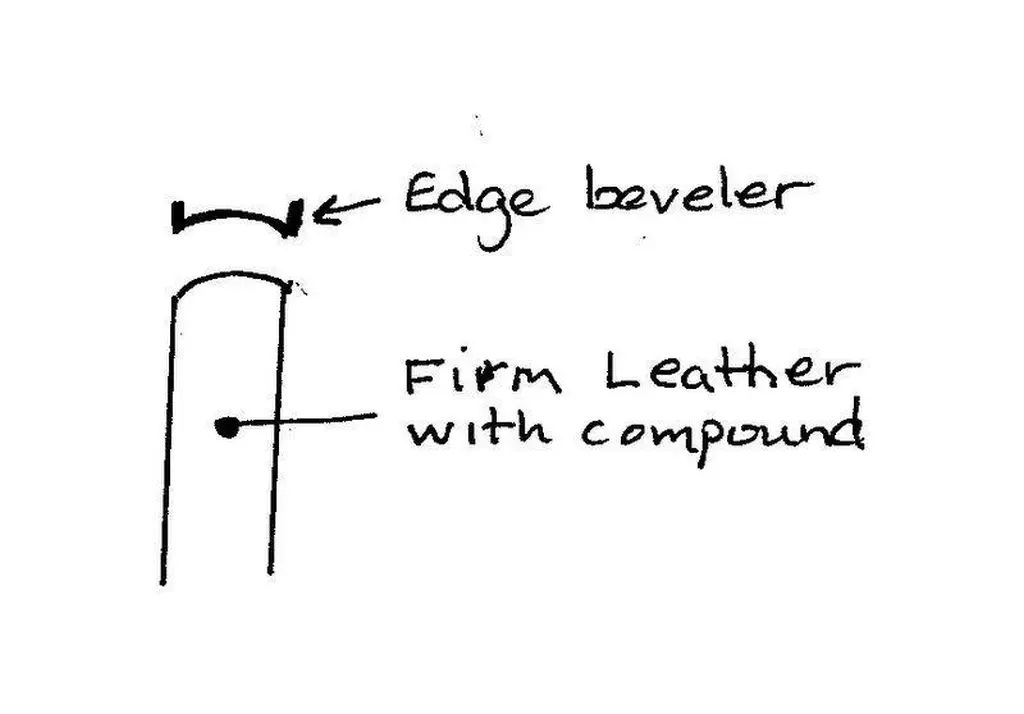
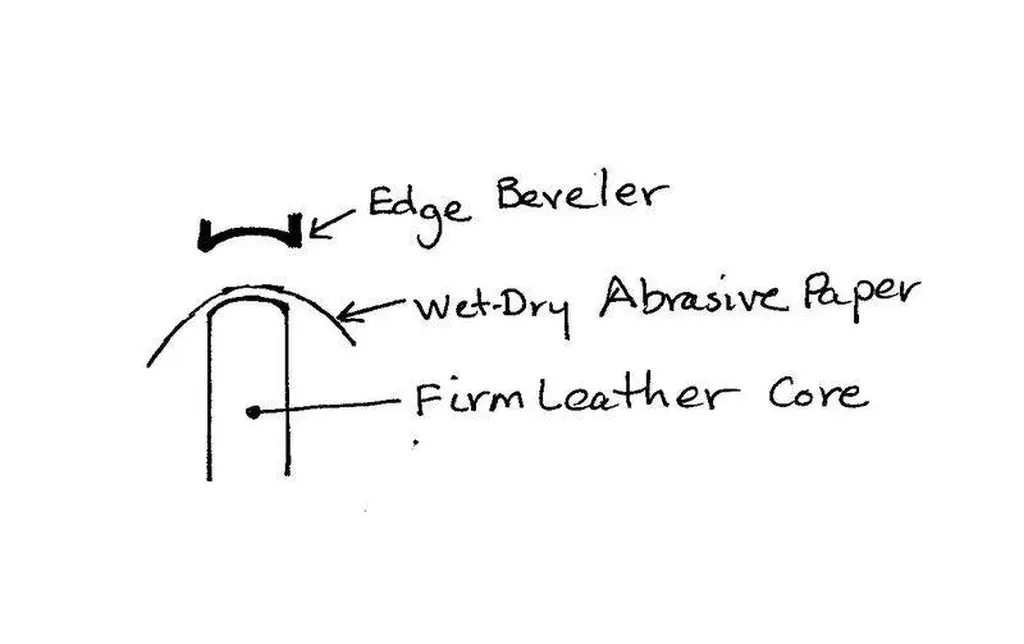
On flat bottom edgers I use either a fine stone or wet-dry sandpaper on a smooth surface. I work the bottom on that. For the top edge I use firm leather or cardboard wrapped in wet-dry sandpaper to work that edge. I strop with the same material rubbed with compound.
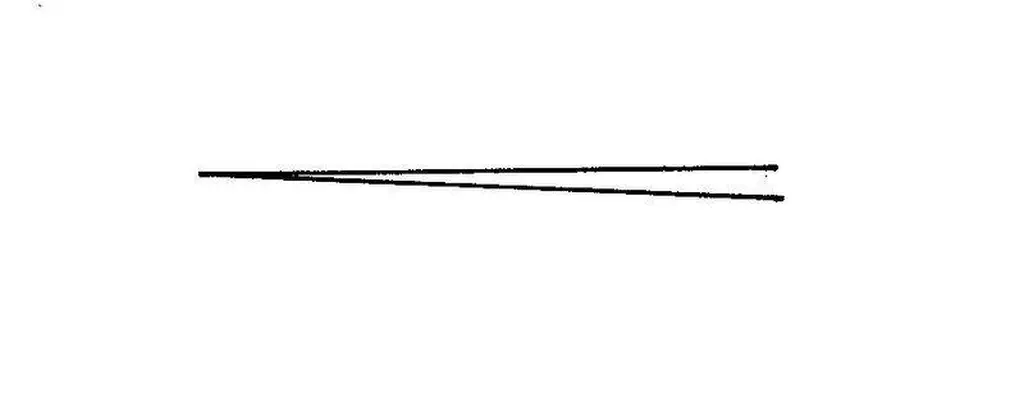
Bisonette edgers have a few special considerations. The width of the sharpener is very important. Even with the right profile, if they are too wide they will widen the cutting edge and a #1 becomes a #3 pretty fast. The one size fits all commercial “leather strips in a wood block” sharpening systems just don’t it correctly. I use round rod in the appropriate size to be wrapped with wet-dry and fit without spilling over. Round stock brass or steel can be found in most hardware stores. A smooth nail works too.
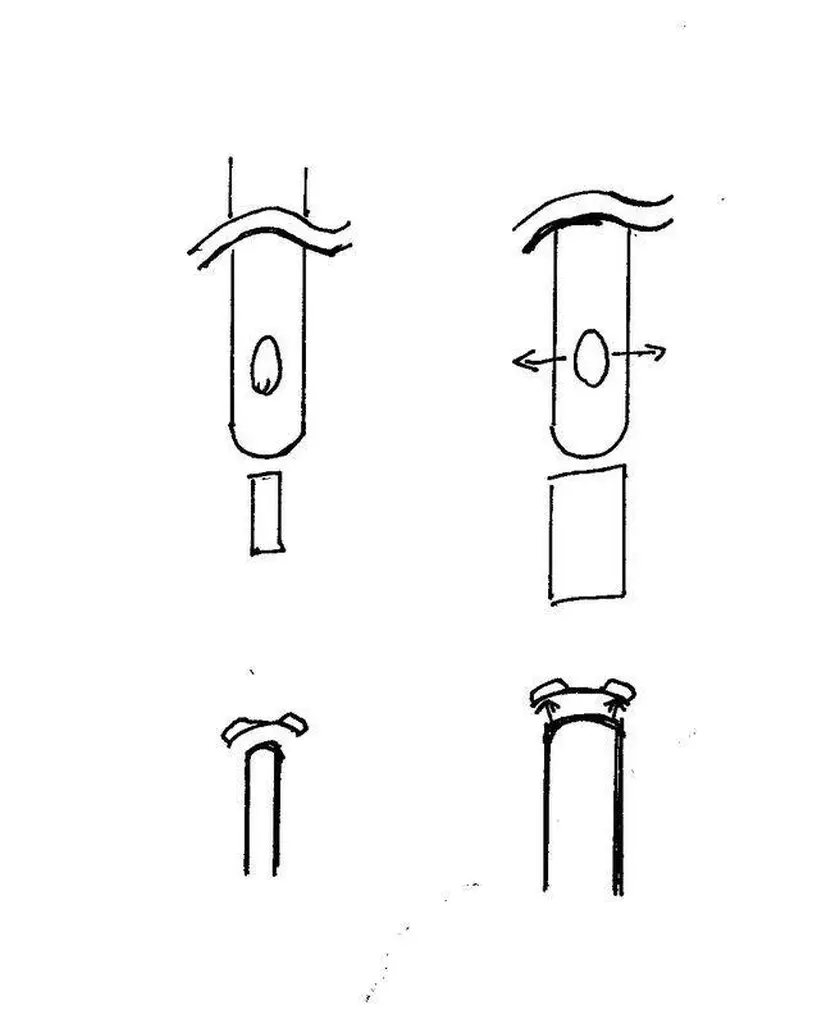
Proper Width Media
Media Too Wide
Again the lightest grit for the job will keep from removing too much material and will prolong the edger’s life. Another concern is to make sure that you are not running into the opposing edge while working away from the edge.
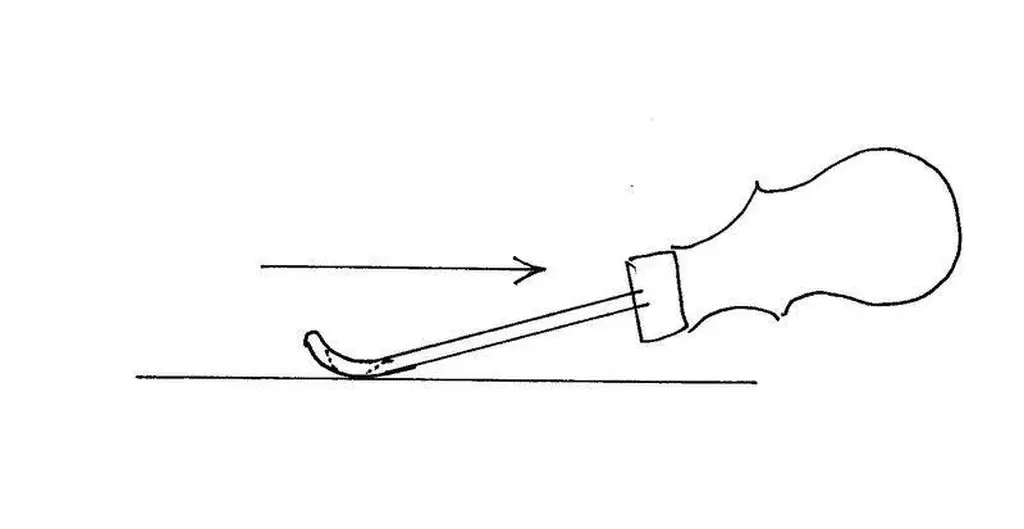
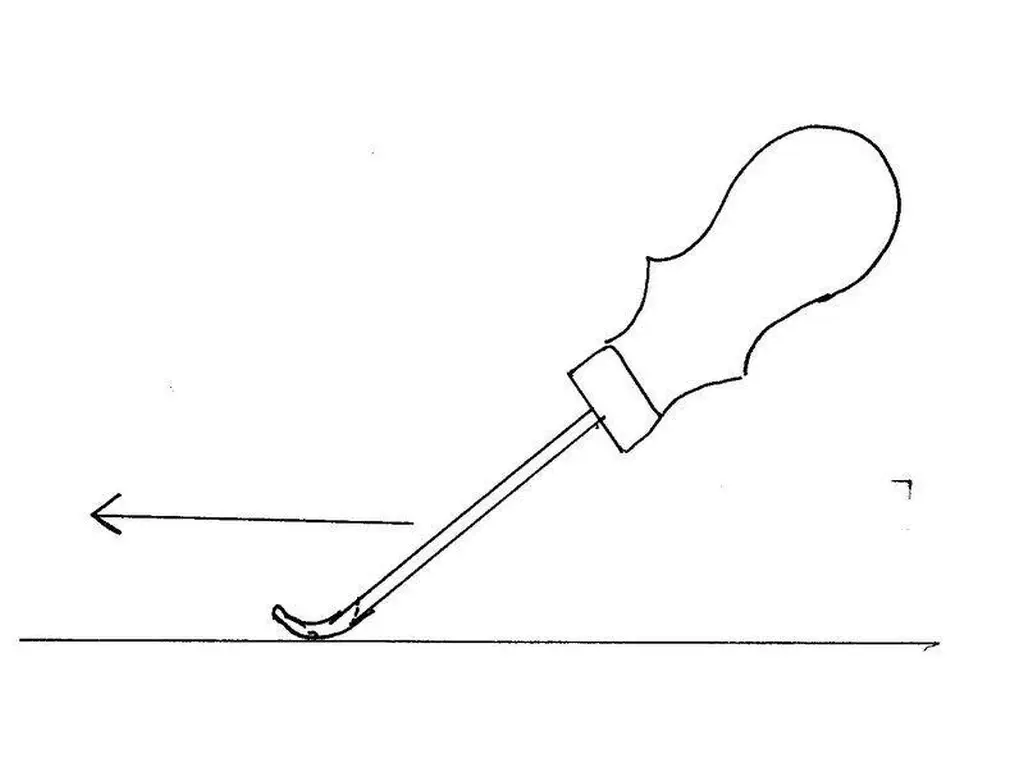
These are my current techniques for sharpening edge bevelers. It can be done pretty simply using readily available material. The goal is smooth polished fine edge that slices easily. Once the edge is established usually stropping is all that is needed to maintain the edge for quite a while. When stropping no longer is enough, then a light touch up with a very fine grit abrasive is normally all that is needed.
